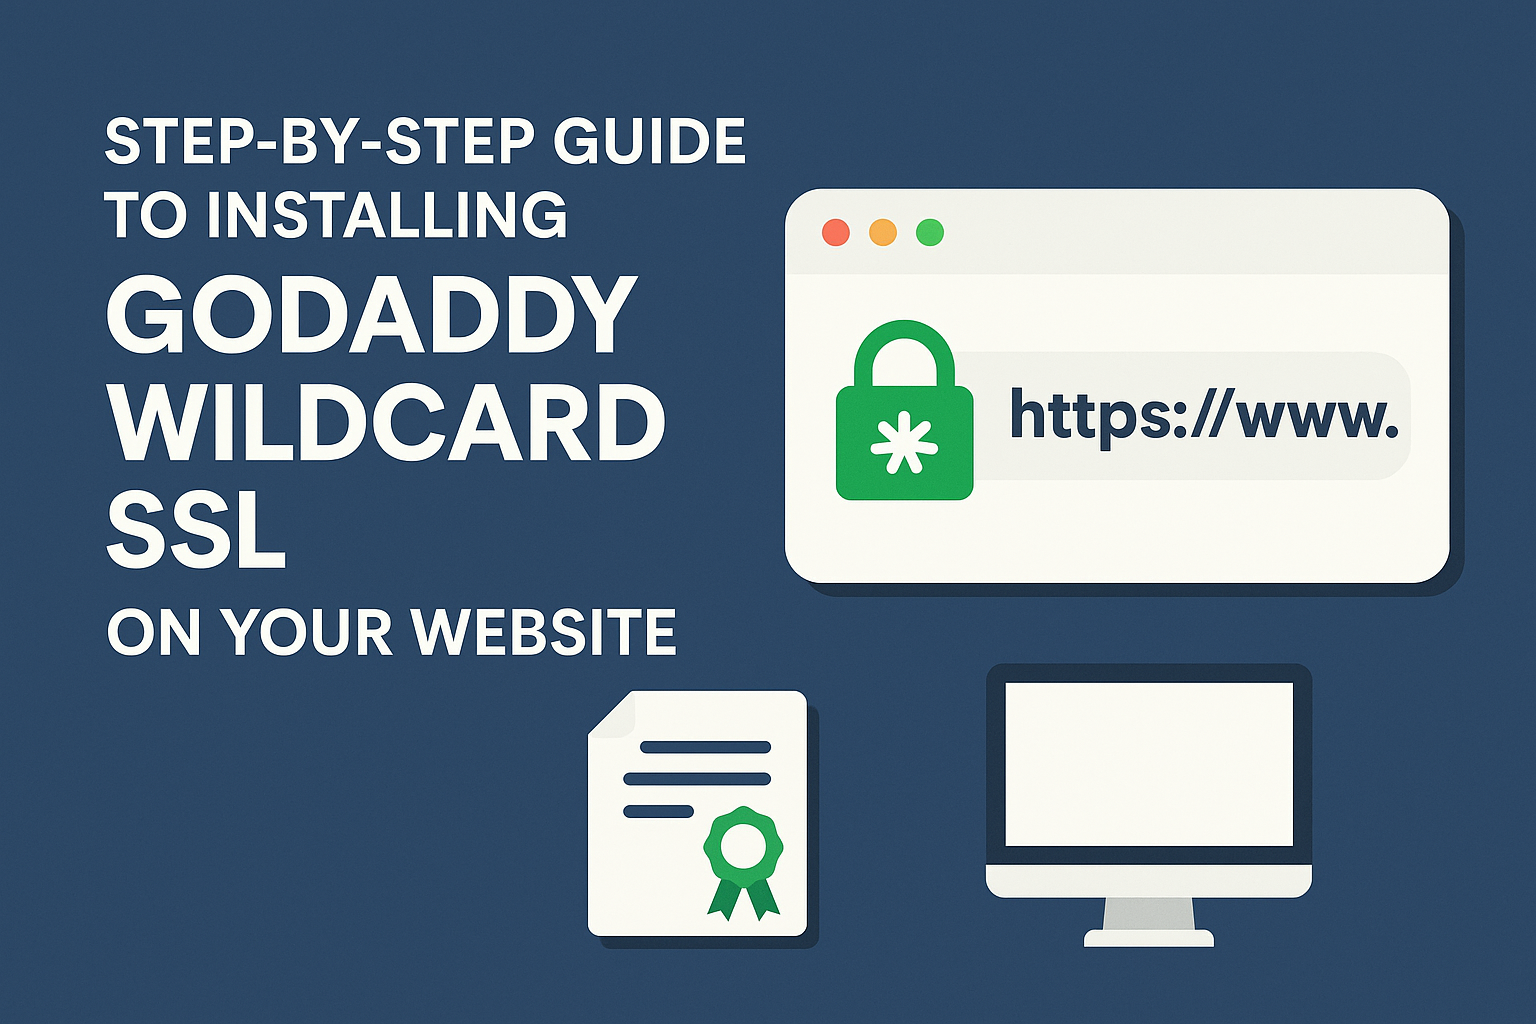
An SSL certificate is no longer optional in 2026—it’s mandatory for security, SEO, and customer trust. If you’re running multiple subdomains like blog.example.com, shop.example.com, and mail.example.com, then GoDaddy Wildcard SSL is your best option.
This guide walks you through the exact steps to install a GoDaddy Wildcard SSL certificate on various server types. Whether you’re a small business owner or a web developer, this tutorial is designed for you.
Prerequisites Before You Begin
Before installing your SSL, make sure you have:
- ✅ A valid GoDaddy Wildcard SSL certificate
- ✅ Access to your domain control panel (DNS or email)
- ✅ Access to your hosting server (cPanel, WHM, Plesk, SSH)
- ✅ Knowledge to generate a Certificate Signing Request (CSR)
| Requirement | Description |
|---|---|
| SSL Certificate | Wildcard SSL issued by GoDaddy |
| Domain Access | Needed for DNS verification or email approval |
| Server Access | To install and configure certificates |
Tip: If using a managed hosting service, check with support—they might install the certificate for you.
Step 1: Purchase and Activate Your GoDaddy Wildcard SSL
Go to GoDaddy.com or a certified reseller like CompareCheapSSL.com to purchase the certificate.
Activation Steps:
- Log into your GoDaddy dashboard
- Navigate to My Products > SSL Certificates
- Click “Set Up” on your Wildcard SSL
- Add your primary domain using the wildcard:
*.example.com
Note: Wildcard SSL secures all first-level subdomains under your main domain.
Step 2: Generate a CSR (Certificate Signing Request)
A CSR is a block of encoded text you generate on your server. It contains your public key and is used to request your SSL.
How to Generate CSR:
a. cPanel
- Go to SSL/TLS > Generate CSR
- Fill in your details
- Domain:
*.yourdomain.com
b. Apache (OpenSSL)
openssl req -new -newkey rsa:2048 -nodes -keyout wildcard.key -out wildcard.csrc. IIS
- Open IIS Manager > Server Certificates > Create Certificate Request
- Fill in details > Use wildcard domain
| Server Type | Method |
| cPanel | Built-in tool |
| Apache | OpenSSL command |
| IIS | Wizard interface |
Save the
.csrand.keyfiles safely. You’ll need them during installation.
Step 3: Submit CSR to GoDaddy
Once CSR is generated:
- Go to your GoDaddy dashboard
- Paste the CSR in the activation form
- Select your server type (Apache, NGINX, IIS, etc.)
Domain Verification Options:
- Email: Approve via email to domain admin
- DNS: Add TXT record (recommended for wildcard domains)
- HTML File: Upload file to root directory
| Method | Suitable For | Speed |
| Static or shared hosting | Fast | |
| DNS TXT | Wildcard/Multiple servers | Recommended |
| HTML File | Full server control | Moderate |
Step 4: Download and Extract SSL Files
Once approved, GoDaddy will issue your SSL certificate. Download the zipped bundle containing:
yourdomain.crt– Primary certificategd_bundle.crt– Intermediate certificateswildcard.key– Private key (you generated this earlier)
Always use the correct intermediate certificate to ensure trust across browsers.
Step 5: Install SSL on Your Server
a. Install on cPanel
- Navigate to SSL/TLS > Manage SSL Sites
- Upload
.crt,.key, and CA bundle - Click Install Certificate
b. Install on Apache (Ubuntu/Debian)
SSLEngine on
SSLCertificateFile /etc/ssl/certs/yourdomain.crt
SSLCertificateKeyFile /etc/ssl/private/wildcard.key
SSLCertificateChainFile /etc/ssl/certs/gd_bundle.crt- Restart Apache:
sudo systemctl restart apache2c. Install on NGINX
ssl_certificate /etc/ssl/certs/fullchain.pem;
ssl_certificate_key /etc/ssl/private/wildcard.key;- Reload config:
sudo nginx -s reloadd. Install on IIS
- Import certificate in IIS Manager
- Assign it to your domain under Bindings > HTTPS
Ensure that firewall and ports (443) are open.
Step 6: Force HTTPS Across All Subdomains
To redirect all traffic to HTTPS:
Apache (.htaccess)
RewriteEngine On
RewriteCond %{HTTPS} off
RewriteRule ^(.*)$ https://%{HTTP_HOST}%{REQUEST_URI} [L,R=301]
NGINX
return 301 https://$host$request_uri;Many managed hosts offer one-click HTTPS redirection.
Step 7: Test Your SSL Installation
Use the following tools to check your installation:
| Tool | URL |
| SSL Labs | https://www.ssllabs.com/ssltest |
| WhyNoPadlock | https://www.whynopadlock.com |
| GoDaddy SSL Checker | https://www.godaddy.com/help/ssl-checker-27380 |
Checklist:
- Padlock icon visible
- No mixed content warnings
- Valid certificate chain
- HTTPS loads across subdomains
Common Errors & Fixes
| Error | Cause | Fix |
| Incomplete Chain | Missing CA bundle | Install gd_bundle.crt correctly |
| No Padlock | Mixed content | Use HTTPS for all resources |
| Wrong Domain | CSR mismatch | Reissue certificate with correct domain |
Renewing or Reissuing Your SSL
- Go to GoDaddy > SSL > Manage Certificate
- Reissue if server changes or key is lost
- Renewal reminders start 30 days before expiry
Best practice: Set calendar alerts and renew early to avoid downtime.
Final Thoughts
Installing a GoDaddy Wildcard SSL doesn’t have to be complicated. This guide has covered every major step, from purchase to HTTPS redirection.
| Task | Status |
| Buy SSL | ✅ |
| Generate CSR | ✅ |
| Submit to GoDaddy | ✅ |
| Install on Server | ✅ |
| Test + Redirect HTTPS | ✅ |
Now your website—and all its subdomains—are secured, trusted, and SEO-ready.
📅 Bookmark this guide for future renewals, and explore CompareCheapSSL.com for discounts on your next SSL purchase.
FAQs
What are the prerequisites for installing a GoDaddy Wildcard SSL certificate?
You need an active GoDaddy Wildcard SSL, access to your domain control panel for DNS or email validation, access to your hosting server (like cPanel, Plesk, or via SSH), and the technical ability to generate a Certificate Signing Request (CSR).
How do I generate a CSR (Certificate Signing Request) for my Wildcard SSL?
You generate a CSR from your hosting control panel or server. Enter your details and specify your domain as *.yourdomain.com to cover all first-level subdomains. Methods vary:
- In cPanel, use SSL/TLS tools to generate the CSR.
- On Apache, use command-line OpenSSL commands.
- In IIS, use the Create Certificate Request wizard.
What steps do I follow to activate my GoDaddy Wildcard SSL certificate?
Log into your GoDaddy account, go to the SSL Certificates section, and select “Set Up” for your Wildcard SSL. Paste your CSR, select your server type, and follow the prompts to verify your domain (via DNS, email, or file upload).
What is the recommended method of domain verification for a Wildcard SSL?
DNS TXT record verification is usually the easiest and fastest, especially when securing multiple subdomains. Add the supplied TXT record to your DNS zone and wait for DNS propagation.
How do I download my GoDaddy Wildcard SSL files after approval?
After your certificate is issued, download the provided ZIP file from your GoDaddy account. It typically contains the primary certificate (yourdomain.crt), intermediate certificate bundle (gd_bundle.crt), and you must keep your private key (wildcard.key) safe from when you created the CSR.
How do I install a GoDaddy Wildcard SSL certificate on cPanel?
Go to SSL/TLS in cPanel, choose “Install and Manage SSL for your site,” then upload your certificate, private key, and CA bundle. Use the autofill or browse tool for easy installation, and complete the process by clicking “Install Certificate.”
What is the process for installing a Wildcard SSL on Apache or NGINX servers?
For Apache: Place the CRT, KEY, and CA files in the appropriate directories, update your site’s SSL configuration to reference them, and restart Apache.
For NGINX: Combine certificates if needed, reference the fullchain and KEY file in your server block, then reload or restart NGINX.
What web servers are compatible with GoDaddy Wildcard SSL certificates?
GoDaddy Wildcard SSL certificates are compatible with most web servers, including:
- Apache
- Nginx
- Microsoft IIS
- Tomcat
- LiteSpeed
- cPanel/WHM
You can find detailed installation guides for each of these servers on GoDaddy’s support site.
How do I verify that my GoDaddy Wildcard SSL is installed correctly?
To verify the installation:
- Visit your website using https:// (e.g., https://www.example.com).
- Look for the padlock icon in the browser’s address bar, indicating a secure connection.
- You can also use SSL checker tools like SSL Labs or GoDaddy’s SSL Checker to confirm that the certificate is properly installed.
Do I need to install a GoDaddy Wildcard SSL on each subdomain separately?
No, you only need to install the GoDaddy Wildcard SSL on your main server. It will automatically secure all subdomains under the primary domain (e.g., *.example.com). You do not need to install the certificate on each subdomain individually.
Can I use a GoDaddy Wildcard SSL for subdomains on different hosting accounts?
Yes, you can use your GoDaddy Wildcard SSL for subdomains hosted on different servers. You just need to ensure that the certificate and private key are correctly installed on each server that hosts a subdomain. If necessary, request a certificate reissue from GoDaddy if you want to install it on multiple servers.
How do I configure GoDaddy Wildcard SSL for a subdomain?
You don’t need to configure a GoDaddy Wildcard SSL specifically for each subdomain. Once installed, the certificate will cover all subdomains under your main domain automatically (e.g., blog.example.com, shop.example.com, etc.). Just ensure that your server is set up to handle SSL connections for these subdomains.
How do I uninstall GoDaddy Wildcard SSL from my website?
To uninstall a GoDaddy Wildcard SSL:
- Log into your server’s control panel (cPanel, Plesk, etc.).
- Navigate to the SSL/TLS section.
- Locate the installed certificate and choose the option to remove or delete it.
- Ensure that any references to the SSL certificate are removed from your site’s configuration.