In a world full of malware, phishing, and tampered downloads, Code Signing Certificates have become a must-have for developers, software vendors, and businesses that distribute software online.
A DigiCert Code Signing Certificate is one of the most trusted options to sign applications, scripts, drivers, and executables — adding a digital signature that proves your software is genuine and unaltered.
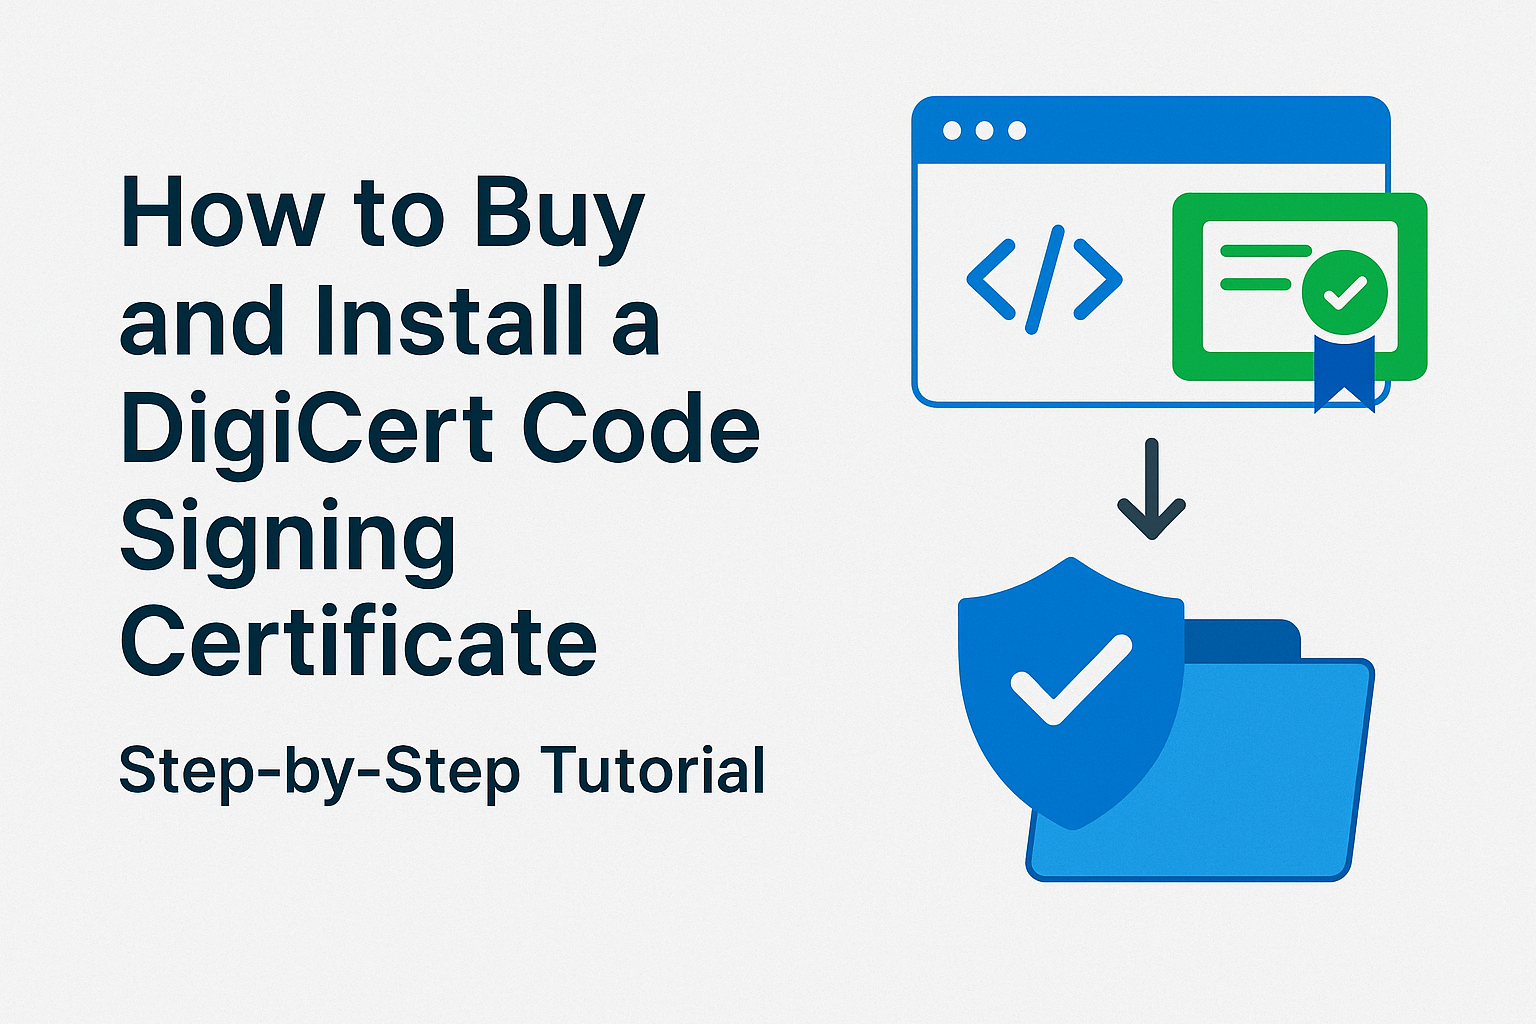
This guide will show you exactly how to buy, validate, and install a DigiCert Code Signing Certificate step by step — whether you choose Standard (OV) or EV (Extended Validation).
What You’ll Need Before You Start
Before you begin, make sure you have:
-
A legally registered business or organization name (for OV/EV)
-
Proof of business identity (business registration, government-issued ID, utility bill, phone listing)
-
A secure computer with admin rights
-
Internet access
-
For EV: a secure location to receive a hardware USB token (required for storing the private key)
Step 1: Understand Which Certificate You Need
DigiCert offers two types:
1️⃣ Standard (OV) Code Signing Certificate
-
Validation: Organization Validation — DigiCert checks your business registration.
-
Use Case: Signing software, apps, scripts, macros for general distribution.
-
Platform: Windows, MacOS, Java, Adobe AIR, mobile apps.
2️⃣ EV (Extended Validation) Code Signing Certificate
-
Validation: Stricter Extended Validation — more rigorous identity checks.
-
Use Case: Required for signing Windows kernel-mode drivers starting with Windows 10.
-
Bonus: Provides immediate Microsoft SmartScreen reputation, reducing “Unknown Publisher” warnings.
-
Security: Private key stored on a hardware USB token for maximum security.
👉 Which to choose?
If you’re only signing general apps or scripts, Standard is fine. If you’re distributing Windows drivers or want maximum trust, choose EV.
Step 2: Purchase Your DigiCert Code Signing Certificate
Once you know what you need, head to DigiCert’s website or an authorized reseller.
Here’s how:
1️⃣ Go to DigiCert’s Code Signing page (or trusted reseller site).
2️⃣ Select Standard (OV) or EV Code Signing Certificate.
3️⃣ Choose your validity period — usually 1, 2, or 3 years.
4️⃣ Add it to your cart and proceed to checkout.
5️⃣ Enter your company details exactly as registered. Double-check spelling — this must match your legal documents.
6️⃣ Complete payment.
✅ Tip: Keep an eye on your email. You’ll get instructions for the next steps immediately after payment.
Step 3: Complete the Identity Verification Process
Before DigiCert can issue your certificate, they must verify your identity — this is what makes it trusted!
Here’s what to expect:
For Standard (OV) Code Signing
-
DigiCert will verify your business using official databases (e.g., government business registry, Dun & Bradstreet, or other trusted listings).
-
If they can’t verify automatically, they may ask for:
-
Business license or registration certificate
-
Utility bill or bank statement with company name/address
-
A phone number listed in a trusted directory
-
-
You might get a verification phone call to confirm your authority.
For EV Code Signing
-
Requires stricter validation:
-
Full legal entity verification
-
Operational existence (proof that your business is active)
-
Confirm physical address
-
Confirm a verified phone number
-
A call-back verification to a verified company number
-
-
DigiCert ships a USB hardware token to store your private key. This must be signed for by an authorized contact.
✅ Tip: Respond quickly to any requests. Delays usually happen when documents are missing or your business listing is outdated.
Step 4: Generate or Receive Your Certificate
How you receive the certificate depends on the type:
Standard (OV)
-
You may be asked to generate a Certificate Signing Request (CSR) on your computer. This creates a private key and a request for DigiCert to sign it.
-
Submit the CSR in your DigiCert account.
-
Once validated, DigiCert emails you a link to download your Code Signing Certificate.
EV
-
DigiCert creates the certificate and loads it onto the hardware USB token.
-
You’ll receive the token securely by courier.
-
The private key never leaves the token, which prevents theft.
✅ Tip: Always store your private key/token securely — losing it can stop you from signing software until a replacement is issued.
Step 5: Install Your DigiCert Code Signing Certificate
Once you receive your certificate:
For Standard (OV)
1️⃣ Download the certificate files from your DigiCert account.
2️⃣ Install it to your local machine:
-
On Windows: double-click the .pfx or .p12 file and follow the Certificate Import Wizard.
-
Store it in your Personal certificate store.
3️⃣ Protect the private key with a strong password when prompted.
For EV
-
Plug the USB token into your computer.
-
Install any drivers/software that came with the token.
-
Use the token management tool to access your certificate when signing.
✅ Tip: Do not copy the private key to another location — that defeats the security purpose.
Step 6: Sign Your Application or Software
Now your certificate is ready. Here’s how to actually sign your code:
Example: Using Microsoft SignTool
1️⃣ Open Command Prompt as Administrator.
2️⃣ Use the following syntax:
-
/trspecifies DigiCert’s timestamp server (so your signature stays valid after expiry). -
/tdand/fdspecify the hashing algorithm (SHA-256 is recommended). -
/aautomatically selects the best signing certificate. -
/fpoints to your certificate file.
✅ Tip: Always timestamp your signature — it’s critical for long-term trust.
Step 7: Test Your Signed Software
-
Try installing or running the signed app.
-
You should see your verified publisher name in the pop-up.
-
No more “Unknown Publisher” warning.
✅ If you see warnings, double-check:
-
The certificate was installed correctly.
-
The private key is accessible.
-
The timestamping server was reachable.
Bonus: Best Practices for Code Signing
-
Store your private key/token securely — losing it can mean revocation and reissuance.
-
Use a dedicated signing machine, if possible.
-
Always timestamp your signatures.
-
Renew your certificate before it expires.
-
Revoke a compromised certificate immediately.
Common FAQs
🔹 How long does it take to get a DigiCert Code Signing Certificate?
Typically 1–5 business days for Standard (OV). EV can take a bit longer due to stricter checks and shipping of the hardware token.
🔹 Can individuals get a DigiCert Code Signing Certificate?
Yes, but you’ll still need identity proof. EV is generally only for registered businesses.
🔹 What if my USB token is lost or stolen?
Contact DigiCert immediately to revoke the certificate and request a replacement.
🔹 Can I use the certificate on multiple devices?
For Standard (OV), yes — you can export and import the .pfx file securely. For EV, the private key stays on the hardware token.
Conclusion
Buying and installing a DigiCert Code Signing Certificate might look complicated — but it’s straightforward once you understand the steps.
👉 Choose the right type (Standard or EV)
👉 Complete validation carefully
👉 Protect your private key
👉 Sign your code correctly — always use timestamping
👉 Build user trust and boost installs without security warnings
If you distribute software, drivers, or apps, this is one investment that pays for itself in user confidence and brand protection.
FAQs
-
How long does DigiCert code signing certificate approval usually take?
Answer:
Most DigiCert code signing certificates are issued within a few business days after all verification documents are submitted and approved.
-
Is receiving a physical token required for every DigiCert code signing certificate?
Answer:
If you’re buying an EV (Extended Validation) certificate, you will receive a secure hardware token that holds your private key.
-
What software should I download before installing my DigiCert code signing certificate?
Answer:
Before installing, download the SafeNet Authentication Client and, if required, the DigiCert Hardware Certificate Installer for a seamless setup.
-
Where do I find my initialization code for installing a DigiCert code signing certificate?
Answer:
Your initialization code is displayed in your DigiCert account dashboard or in your order confirmation; it’s required to activate your certificate during installation.
-
Can I install my DigiCert code signing certificate if I lose access to my original email?
Answer:
As long as you have access to your DigiCert account and hardware token, you can proceed with installation; updating contact info in your portal is recommended.
-
What steps should I follow after unboxing my DigiCert code signing token?
Answer:
Plug in the token, install necessary drivers and DigiCert software, enter your initialization code, and follow the on-screen instructions to complete setup.
-
How do I troubleshoot if the DigiCert certificate installer doesn’t detect my token?
Answer:
Ensure the token is securely connected, drivers are installed, and no other tokens are plugged in. Restart your PC if issues persist.
-
After installation, how do I safely store my DigiCert code signing certificate?
Answer:
Keep your hardware token in a secure, access-controlled location when not in use and protect its PIN from unauthorized access.
-
Who should I contact if my DigiCert installation fails or I cannot find my initialization code?
Answer:
Reach out directly to DigiCert’s support team or your certificate provider for immediate, step-by-step technical assistance.
-
Can I transfer my DigiCert Code Signing Certificate to another computer?
Answer:
Yes, you can transfer your DigiCert Code Signing Certificate to another computer. Export the certificate along with the private key, and then import it on the new machine. Ensure the new machine is secure and compliant with your organization’s policies.
-
What happens if I don’t sign my software with DigiCert Code Signing?
Answer:
Without code signing, your software will be flagged with warnings like “Untrusted” or “Unknown Publisher.” This can reduce user trust, increase the likelihood of antivirus false positives, and hinder software distribution.
-
Can I use DigiCert Code Signing Certificate for both Windows and macOS?
Answer:
Yes, DigiCert Code Signing Certificates work across multiple platforms, including Windows and macOS. For macOS, ensure you export the certificate correctly to use it for Apple code signing. For Windows, use SignTool or similar utilities for code signing.