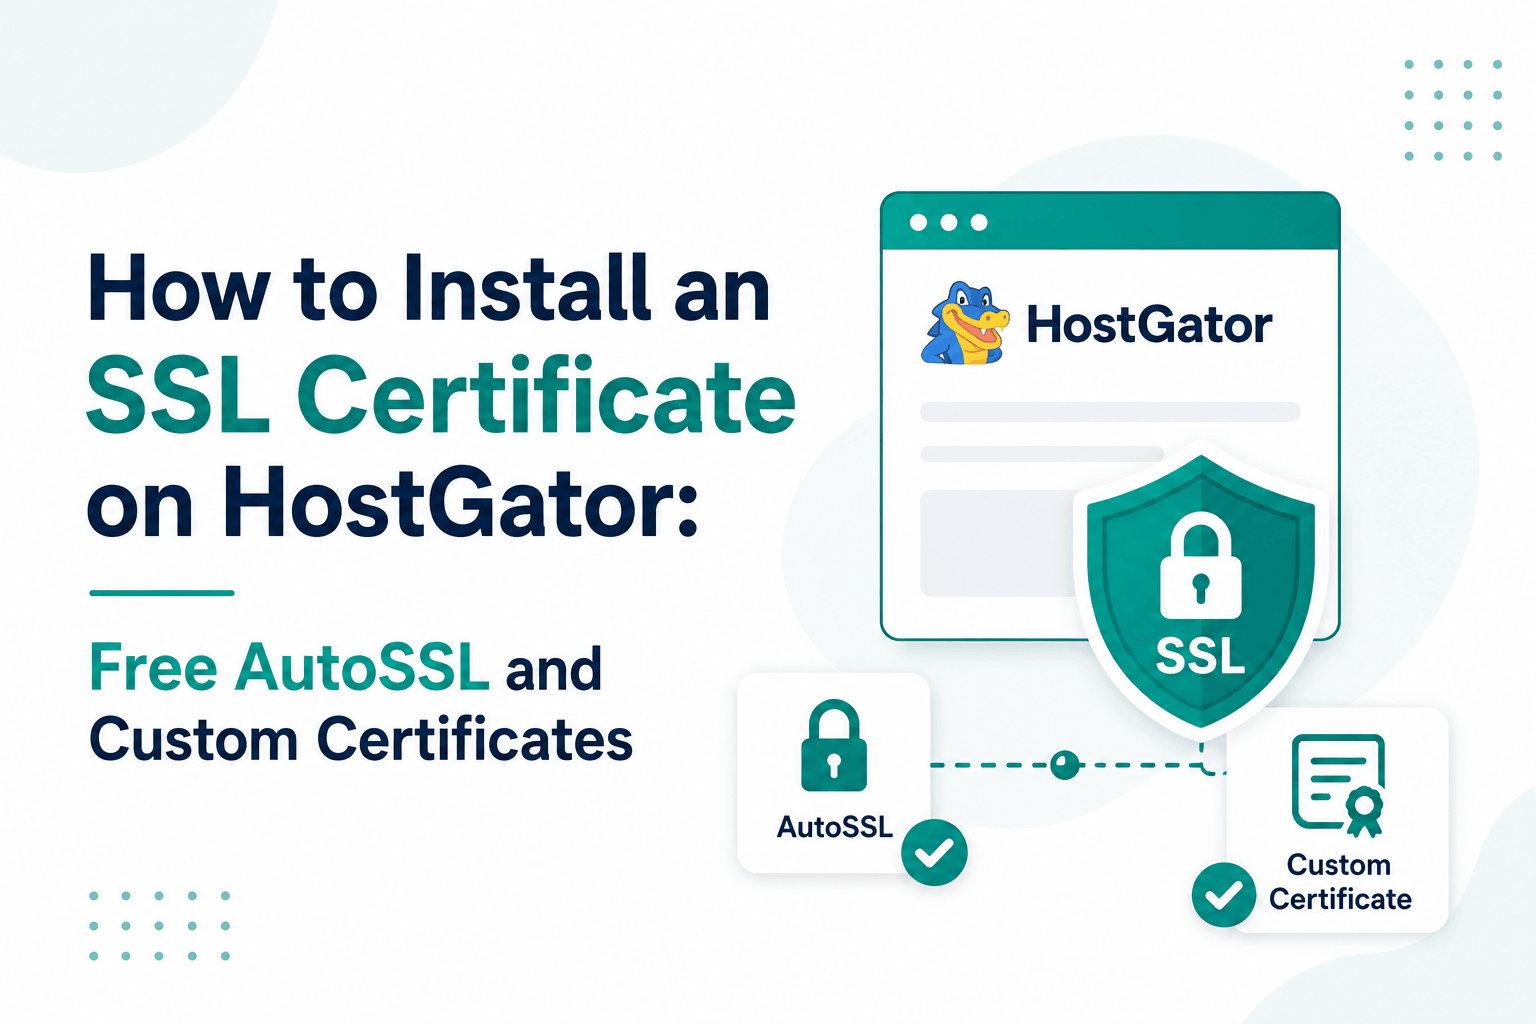
Most HostGator customers do not need to do any of the manual steps further down this article. HostGator includes free SSL through AutoSSL on its hosting plans, and turning it on takes a few clicks in cPanel with no certificate signing request, no copy-pasting certificate files, and no purchase required. The manual process covered later in this article applies specifically to installing a separately purchased paid certificate (an OV or EV certificate from a reseller, for example), which is a different and less common scenario than the free SSL most sites actually need.
About HostGator
HostGator is a web hosting provider founded in 2002, headquartered in Houston, Texas. It offers shared hosting, VPS hosting, dedicated hosting, cloud hosting, WordPress-specific hosting, and reseller hosting plans, along with a website builder tool aimed at users building their first site without hiring a developer. Specific current figures for total customer count, domains hosted, and staff size change over time and are best checked directly on HostGator’s own site rather than treated as fixed facts, since marketing figures like these are updated periodically.
HostGator’s shared hosting plans typically include a free domain for the first year and free SSL, with cPanel as the account management interface most plans use.
Free SSL via AutoSSL: The Path Most Users Need
AutoSSL is a cPanel feature that automatically requests, installs, and renews a free Domain Validated SSL certificate (using Let’s Encrypt as the underlying Certificate Authority) without requiring any manual certificate signing request or certificate file handling from you.
- Log into your HostGator cPanel account.
- Search for SSL in the cPanel search box, or navigate to the Security section.
- Click SSL/TLS Status.
- Select the domain you want to secure from the list.
- Click Run AutoSSL.
- Wait for the process to complete. This can take anywhere from a few minutes to a few hours depending on validation and propagation timing; the status will update from in-progress to Installed or Active once finished.
Free SSL via AutoSSL does not automatically force your site to use HTTPS. Installing the certificate makes HTTPS available, but visitors typing your domain without specifying https:// may still load the unencrypted HTTP version unless you separately configure a redirect. For WordPress sites specifically, HostGator’s own documentation recommends the Really Simple SSL plugin to handle this redirect automatically. For other site types, this requires adding HTTP-to-HTTPS redirect rules to your .htaccess file. Skipping this step is the most common reason a HostGator user installs free SSL successfully but still sees mixed HTTP and HTTPS access to their site.
Installing a Paid or Custom SSL Certificate
If you have purchased an OV or EV certificate from a reseller for verified business identity, or you need a certificate type AutoSSL does not provide, the process involves generating a Certificate Signing Request (CSR), submitting it to your Certificate Authority, and then installing the certificate they issue back to you.
Important: shared hosting customers cannot self-install a custom certificate
On HostGator shared hosting plans specifically, you cannot install a custom or paid SSL certificate yourself. HostGator support has to perform that installation on your behalf. If you are on shared hosting, complete the CSR generation step below yourself, then contact HostGator support with your issued certificate files for installation. VPS and dedicated server customers have full flexibility to install certificates themselves through cPanel without needing HostGator’s involvement.
Step 1: Generate your CSR and private key
- Log into your HostGator cPanel account.
- Go to Security, then SSL/TLS.
- Select Generate, view, or delete SSL certificate signing requests.
- Fill out the required fields (domain name, organization details, location, email address) accurately, matching exactly what is on file in your domain’s WHOIS record, since mismatches here can cause validation delays with your CA.
- Click Generate. This single step produces both your CSR (the public request text, which you will share with your CA) and your private key (the RSA key, which must stay confidential) at the same time.
Your private key must never be shared with anyone other than your own hosting installation process. Save it somewhere secure, such as a password manager that supports storing files or notes, immediately after generating it. If you lose it, you generally cannot recover it; you would need to generate a new CSR and private key pair and have your certificate reissued against the new pair.
Step 2: Submit the CSR to your Certificate Authority
Copy the CSR text generated in Step 1 and submit it through your Certificate Authority’s or reseller’s order process, exactly as they instruct. This is what allows them to generate a certificate matched to your domain and your key pair. Depending on the certificate type (DV, OV, or EV), this step also triggers the corresponding validation process: domain control confirmation for DV, additional business verification for OV and EV.
Step 3: Install the issued certificate
- Once your CA has validated your request and issued the certificate, log back into HostGator cPanel.
- Go to Security, then SSL/TLS, then select Manage SSL sites.
- Choose the domain you are installing the certificate for from the dropdown.
- Paste the certificate (.crt) content into the Certificate field.
- Paste your private key (saved from Step 1) into the Private Key field.
- Paste the CA bundle or intermediate certificate content, provided by your CA alongside your main certificate, into the Certificate Authority Bundle field.
- Submit the form and wait for confirmation that installation succeeded.
If you are on shared hosting and cannot complete this final step yourself, provide your certificate file, private key, and CA bundle to HostGator support through a ticket, and they will complete the installation for your account.
DV vs Wildcard: Choosing a Certificate Type
HostGator and most resellers offer two relevant options for typical small business and personal sites:
- Domain Validated (DV) SSL: the Certificate Authority verifies that you control the domain, without verifying your business identity. This is the standard, lowest-cost option, and the type AutoSSL provides for free. Modern browsers display the same neutral padlock icon for DV, OV, and EV certificates alike; there is no longer a distinct visual indicator (such as a colored padlock) that varies by validation level the way some older marketing materials once implied. DV provides identical encryption strength to higher-validation certificate types; the difference is entirely about identity verification, not security strength.
- Wildcard SSL: a single certificate that covers your main domain and an unlimited number of first-level subdomains (such as shop.yourdomain.com, blog.yourdomain.com, and mail.yourdomain.com) under one certificate, rather than requiring a separate certificate for each. This saves cost and renewal management overhead specifically for sites with multiple active subdomains; it offers no benefit over a standard single-domain certificate for a site with no subdomains.
Frequently Asked Questions
How do I know if my HostGator AutoSSL installation actually worked?
Visit your site directly using https:// in front of your domain and check for the padlock icon in your browser’s address bar with no security warning. You can also return to cPanel’s SSL/TLS Status page, where a successfully installed certificate shows as Installed or Active rather than Pending or Failed. For a more detailed check, run your domain through the Qualys SSL Labs test (ssllabs.com/ssltest), which confirms the certificate is properly installed and reports the overall configuration grade.
My AutoSSL certificate installed but my site still shows Not Secure. What is wrong?
This is almost always the missing HTTPS redirect described earlier in this article, not a failure of the certificate itself. The certificate being installed means HTTPS is available; it does not mean your site automatically uses it for every visitor. Check whether your site has an HTTP-to-HTTPS redirect configured, either through a plugin like Really Simple SSL on WordPress, or through .htaccess rules on other platforms. Also check for mixed content: images, scripts, or stylesheets still loading over plain HTTP on an otherwise HTTPS page, which can cause a browser to show a partial, not-fully-secure warning even with a valid certificate installed.
Can I move my SSL certificate to HostGator if I bought it somewhere else?
Yes. A certificate purchased from any authorized reseller or Certificate Authority is not tied to a specific hosting provider; it is tied to your domain and the key pair it was issued against. Follow the paid certificate installation steps in this article, using the certificate, private key, and CA bundle files your original provider gave you, rather than generating a new CSR through HostGator (which would require reissuing the certificate against a new key pair instead). If you still have your original private key, you can install the existing certificate directly into HostGator’s cPanel SSL/TLS Manage SSL sites section without needing a new certificate at all.